Collieston Village – a painting in the making
In this article, I want to demonstrate the process I used to create my watercolour painting of Collieston Village.
This historic village, perched on the hillside, is made up of houses scattered in a horseshoe formation, all looking out towards the seawall which provides shelter for small boats.
You can click on the images below to get a better view.
Preparation Stage
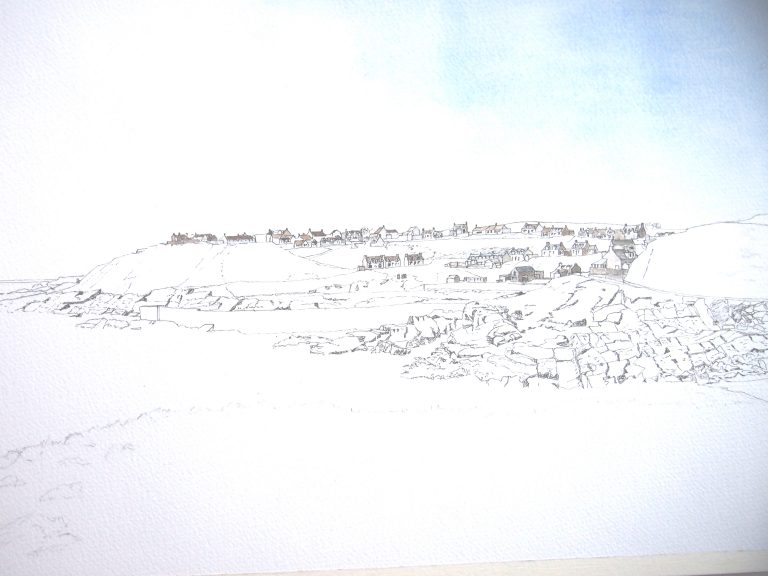
When it comes to capturing the beauty of the village in a painting, preparation is key. I took a series of digital photographs to serve as a reference for sketching out the scene on an A3 size stretched 300 gram NOT paper. It took me three days to complete the sketch and make sure that the proportions of the seascape and buildings were just right.
The main issue was to ensure that the houses stood out against the lush backdrop of grasses. Built directly into and atop the hard seashore rock, they should create a beautiful and unique landscape that sets the perfect tone.
I discuss sketching in more detail here.
The following photo shows the painting at the end of the preparation step.
Building structure using pen and ink
I used pen and ink to add more detail to the painting. I added ink to the rocks along the seashore and outlined some of the houses and slopes to help them stand out against the background of grasses and rocks. The rocks certainly benefitted from the inking process.
Using Colour to Bring Life to the Painting
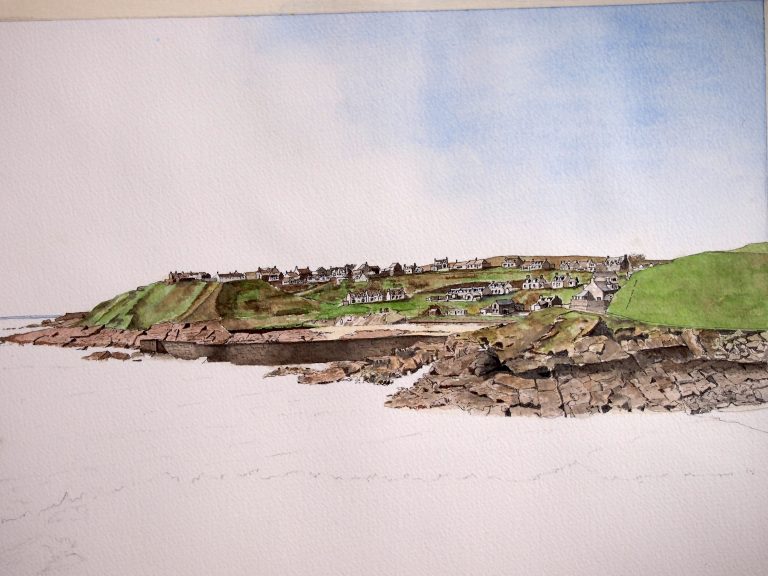
After creating the structure of the painting the time is right to paint. The sky was built up with a number of cobalt blue washes to the right to give intense light from the sea to the land.
Given the scene was photographed late spring the greens were still of a brown background and best washed in with a mixture of yellow ochre and sepia and the centre a mixture of cad yellow and blue with a titanium white washed through to soften the green.
The rocks were of a pinkish brown hue and carefully washed in to show the light from the left and lampblack along cracks to form shadows with lines of sepia and lampblack for seaweed at the water’s edge. The closer the rocks, the more detailed they had to be.
The breakwater wash was soft sepia with lampblack that was allowed to dry and then washed out with a tissue and rewashed to show dark corners.
The painting was left to dry completely.
The Sea Style
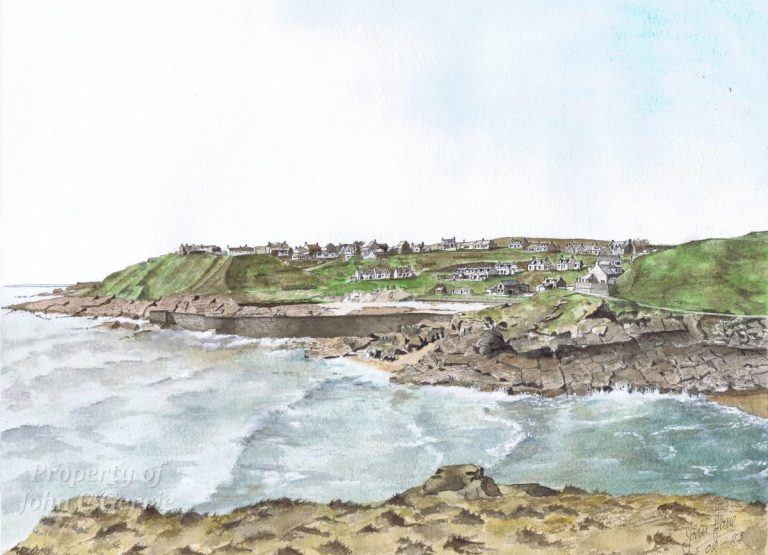
Once the painting was dry, I added the sea. I used a silver hue on the horizon and a light turquoise green in the middle, darkening as the water reached the shore. I added some white to show foam from the breaking waves. I wanted to create a peaceful effect.
The Foreground
The foreground was a tricky one – I wanted to add texture and detail without taking away from the main subject of the painting.
In this case, forming the foreground required careful consideration of the level of detail and choice of colours to ensure the foreground did not detract from the main subject. The use of artistic interpretation allowed me to create a balanced painting.
The Finished Painting
The finished painting has worked out well.
I am pleased with the strong light from the left that transitions from light washes to intense shades on the right that form the colours of the grasses and stonework on the seashore. I think that the lines on the headland and the formation of the waves have worked well.
I’m really pleased with this painting. Here is a link to the painting.


